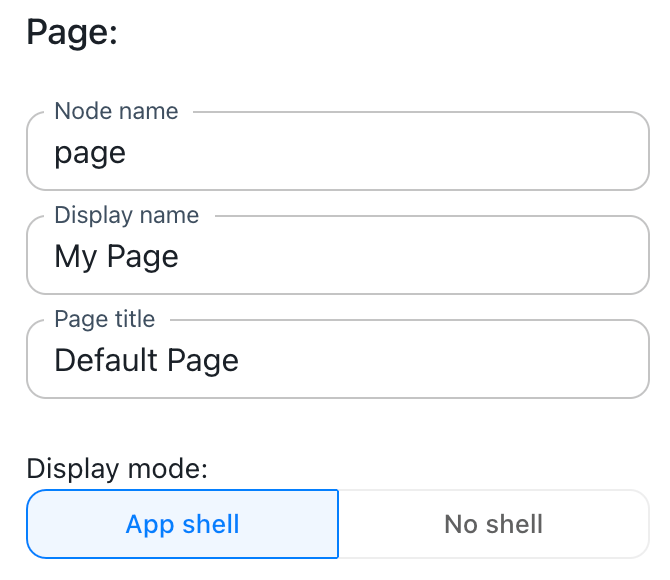
Display mode page property
Options
The possible options for the display mode are:
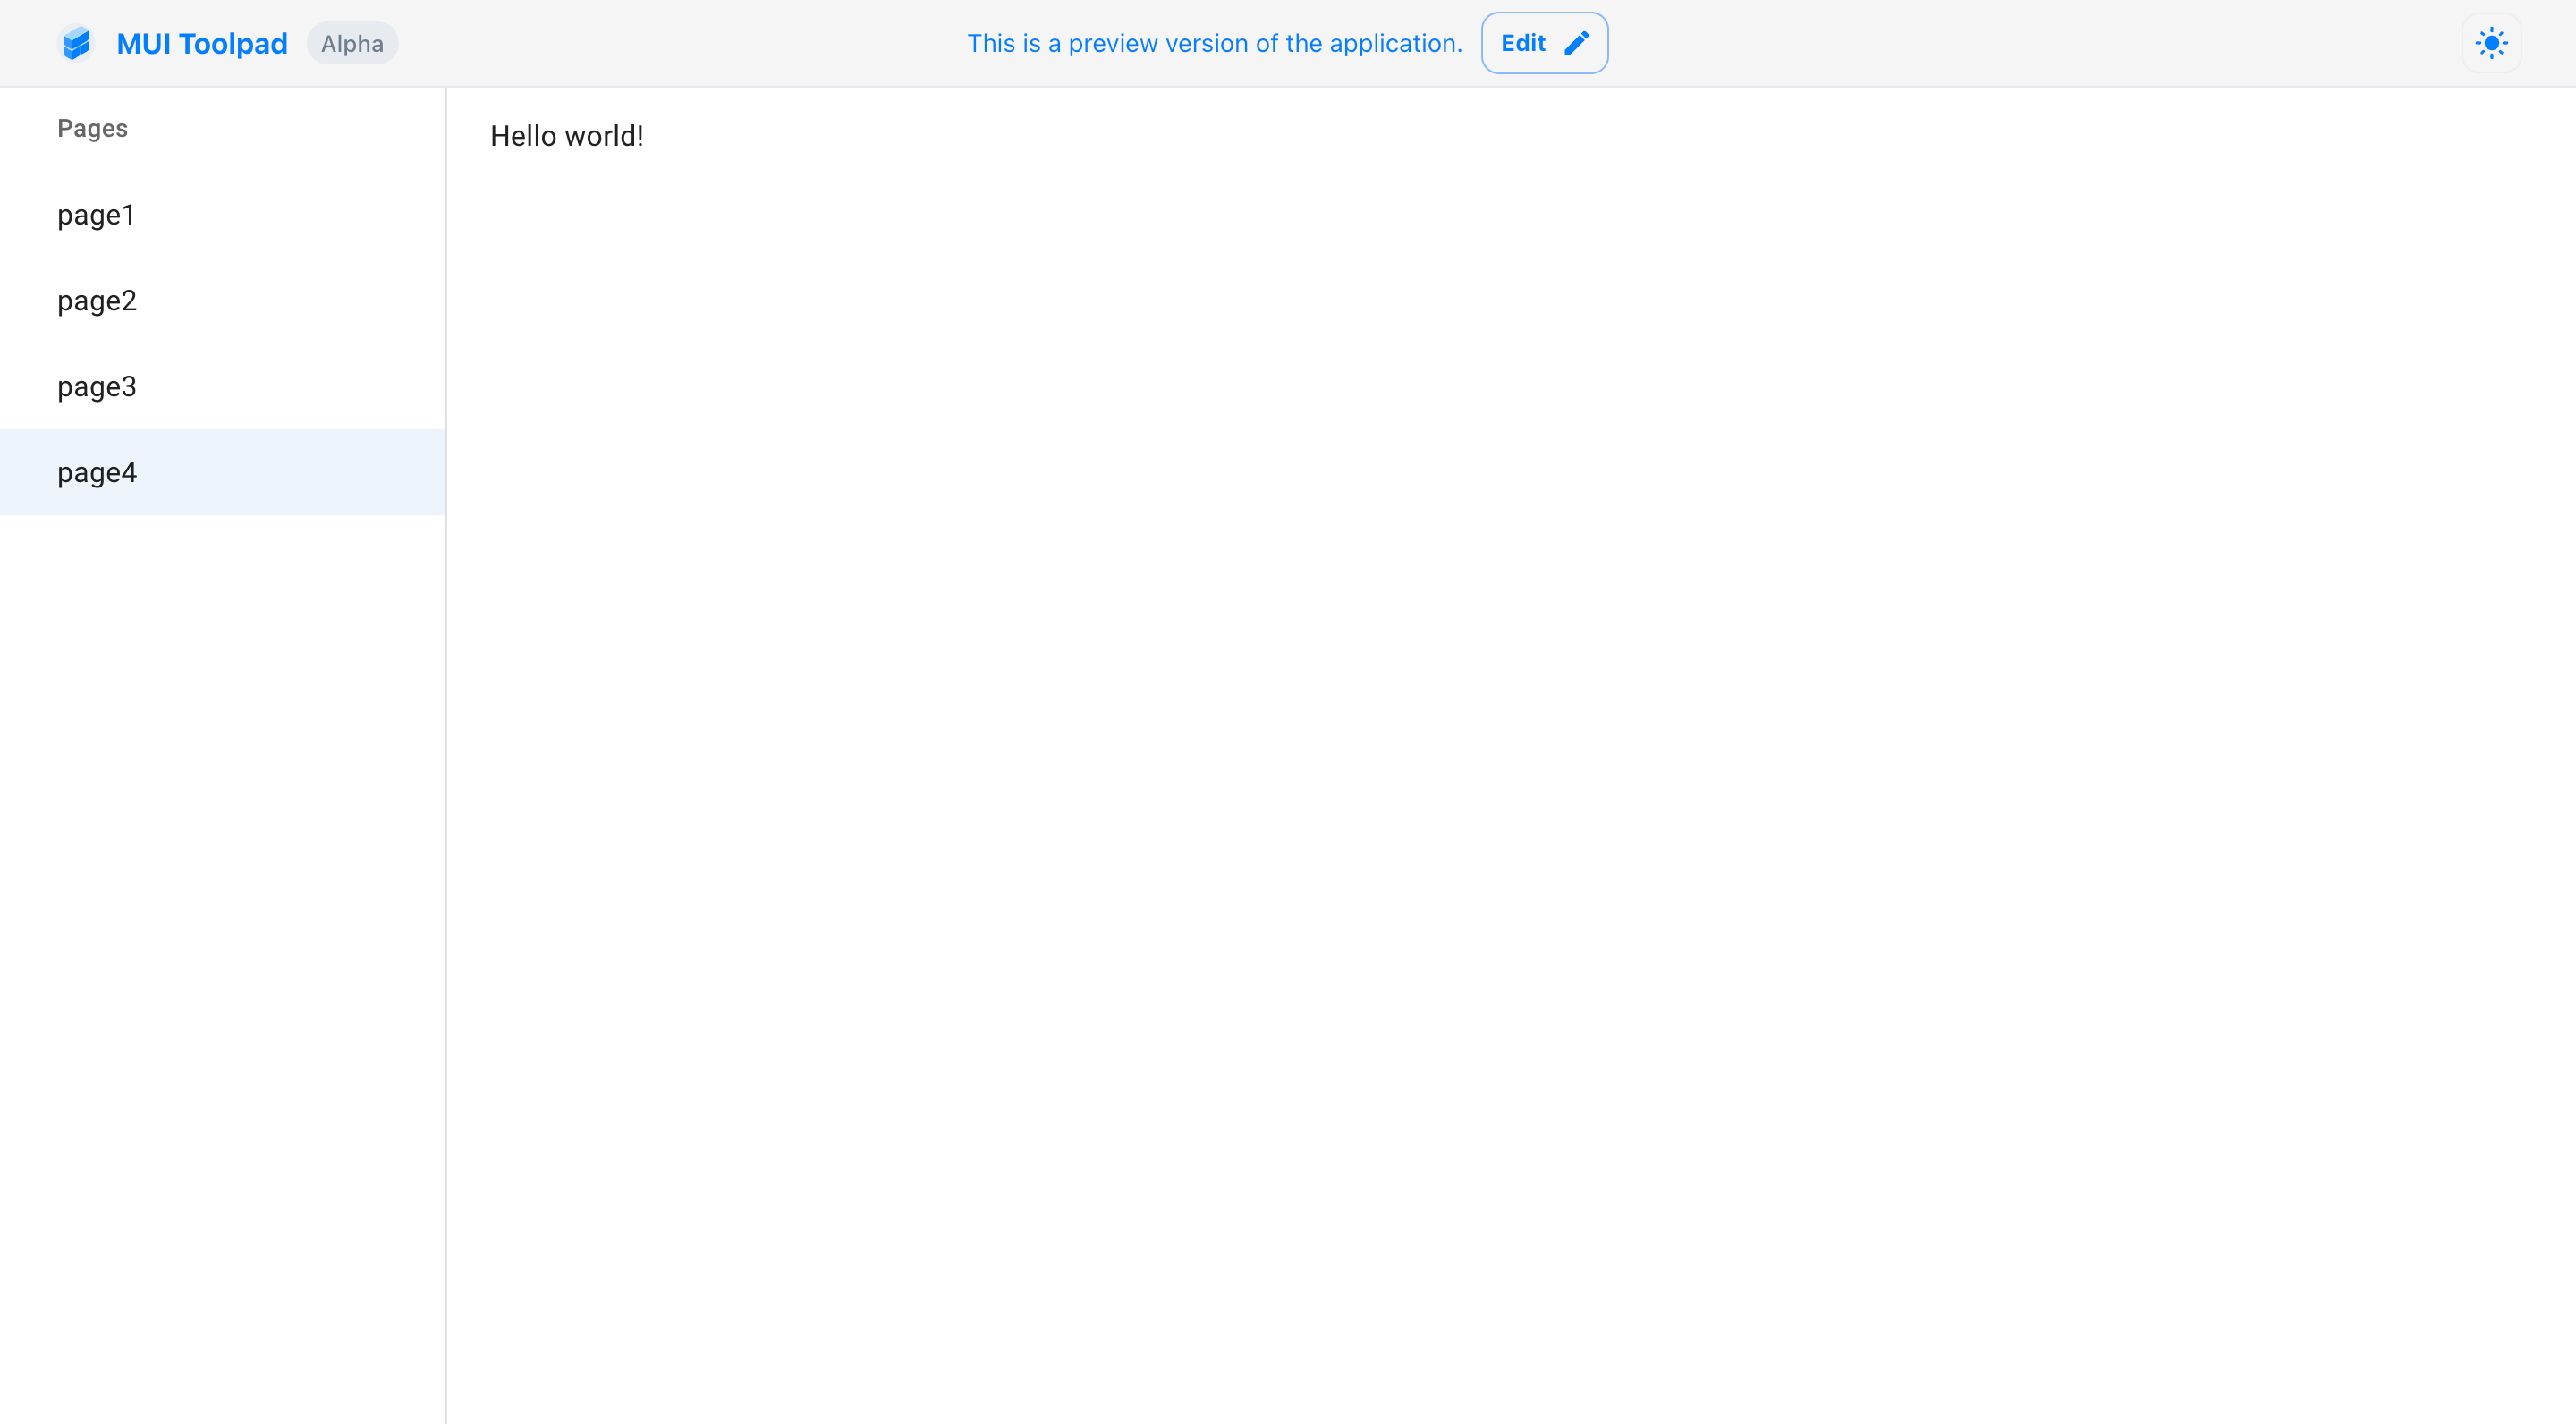
- App shell: Pages with their display mode set to this value will render within the navigation sidebar on the left, allowing for easy navigation between all pages.
To display a different name for a page in the sidebar, the page display name can be set.

Page with display mode set to App shell
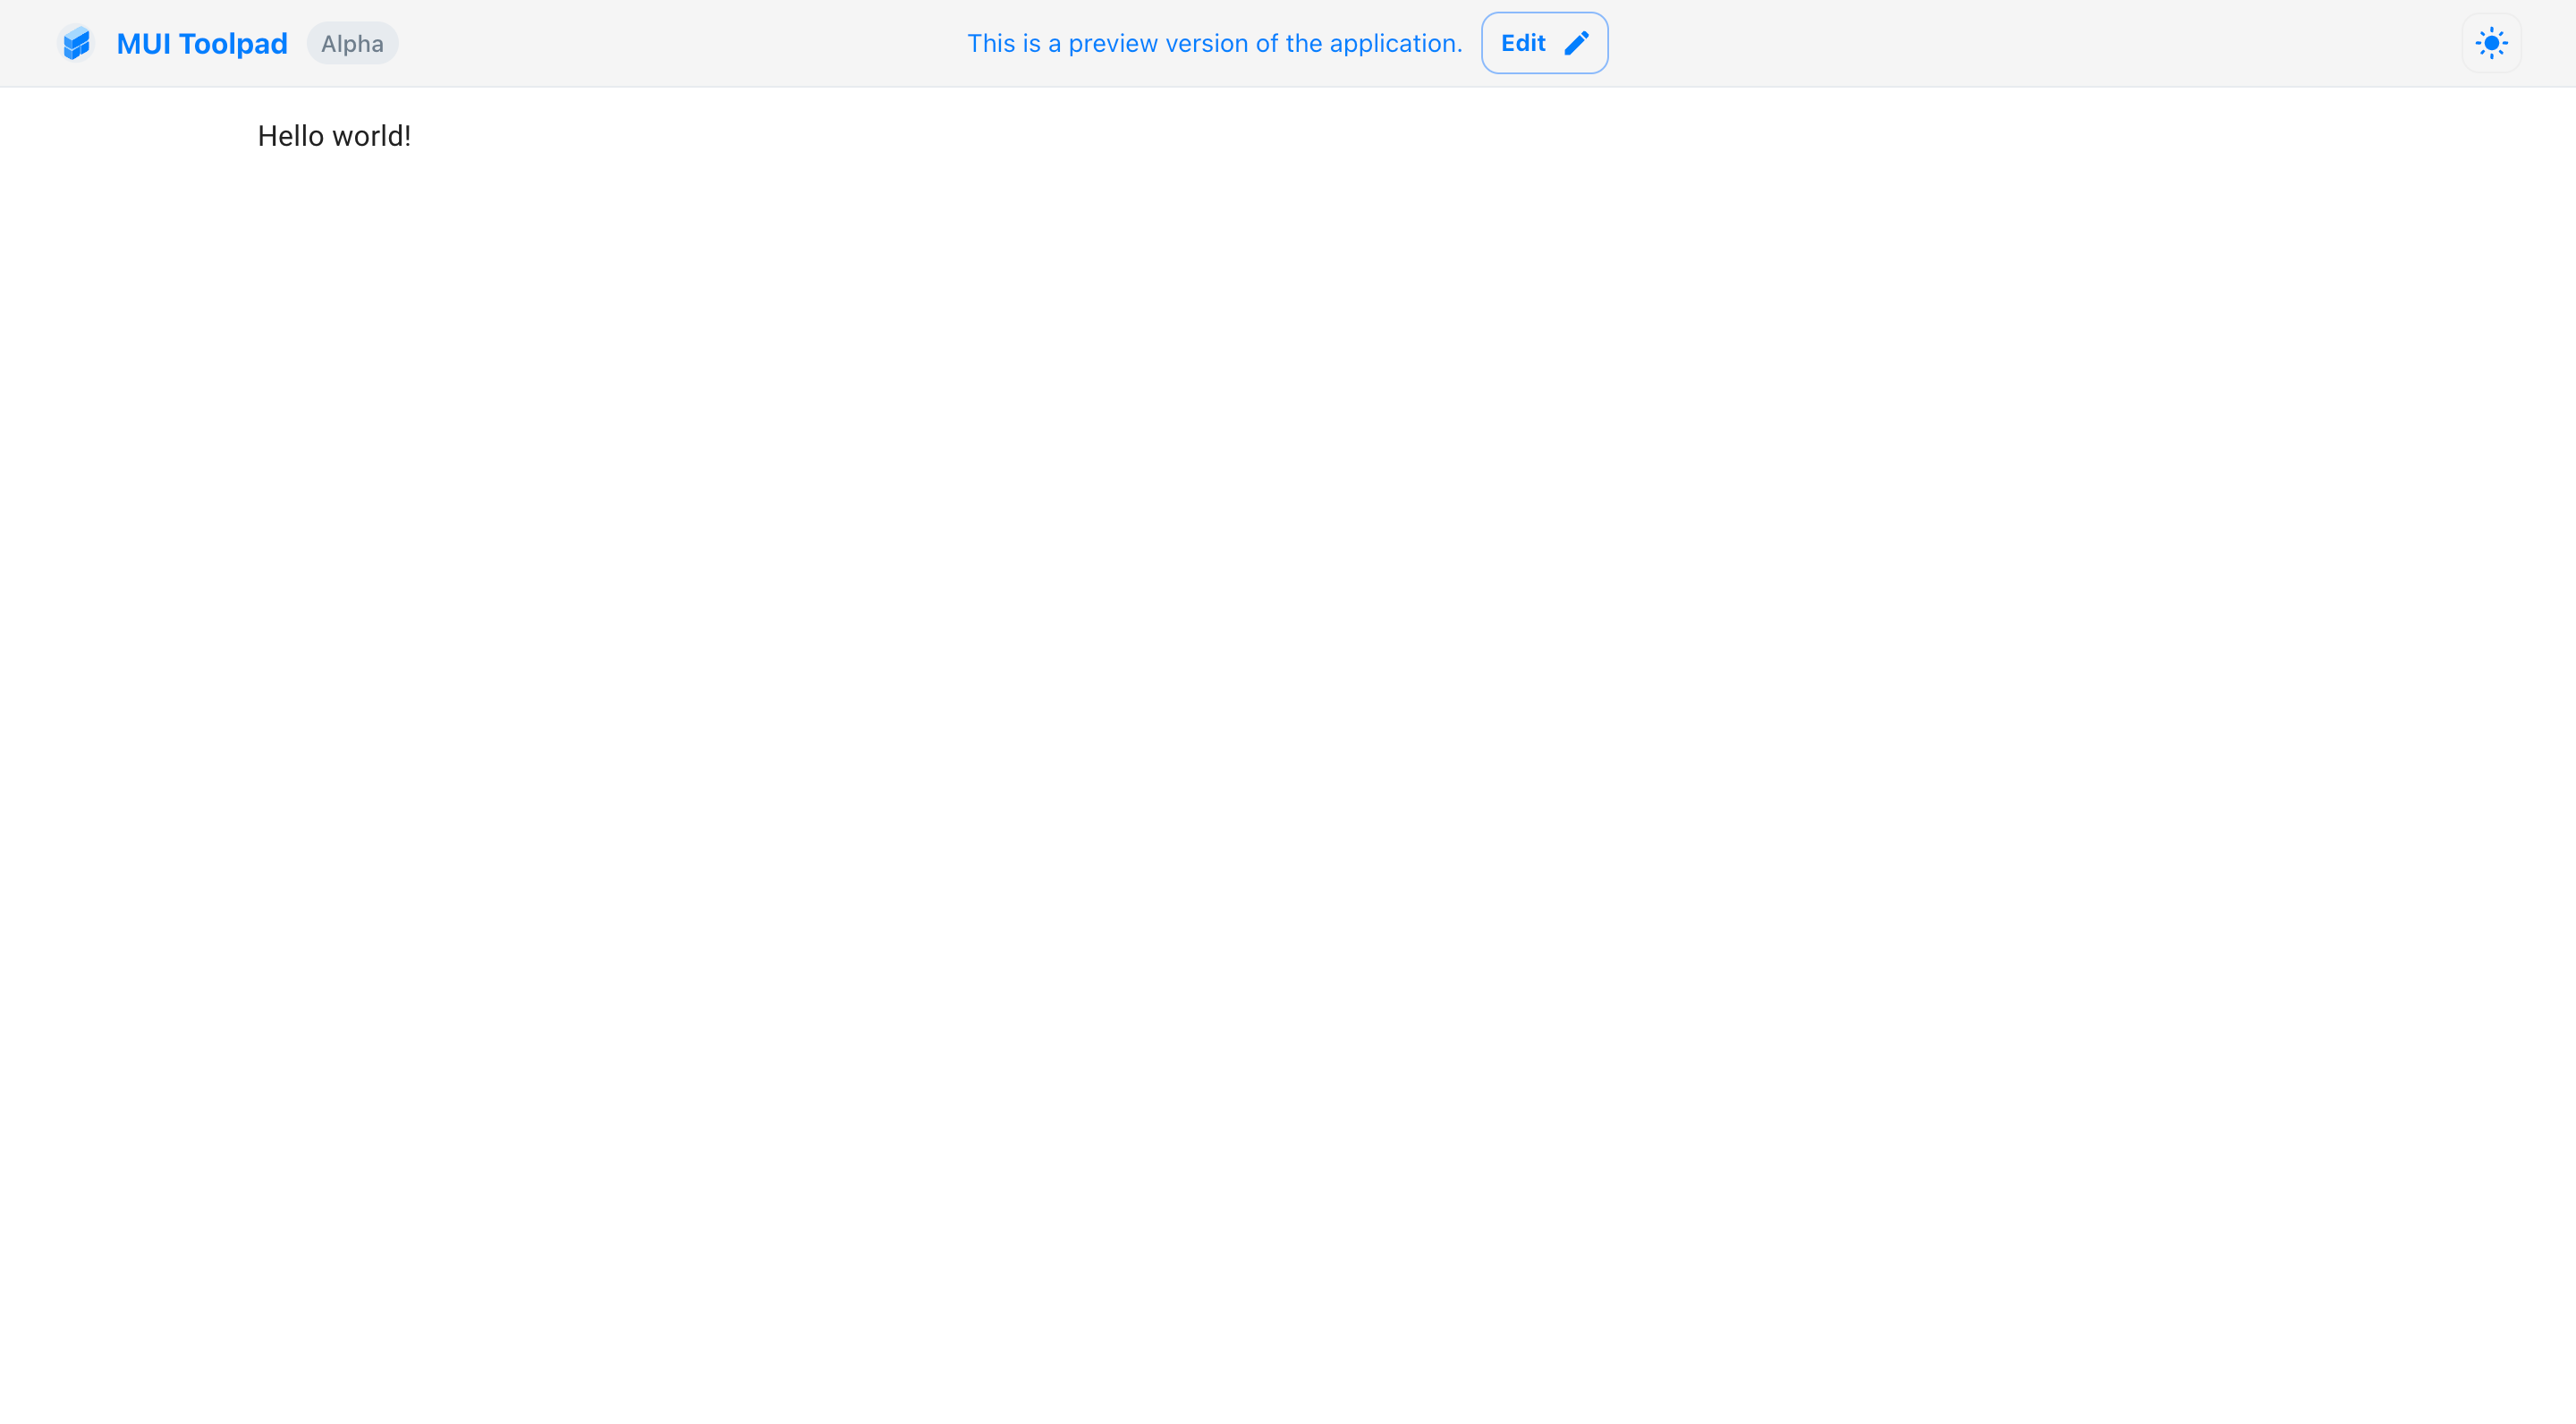
- No shell: Pages with their display mode set to this value will render without the navigation sidebar.

Page with display mode set to No shell
Overrides
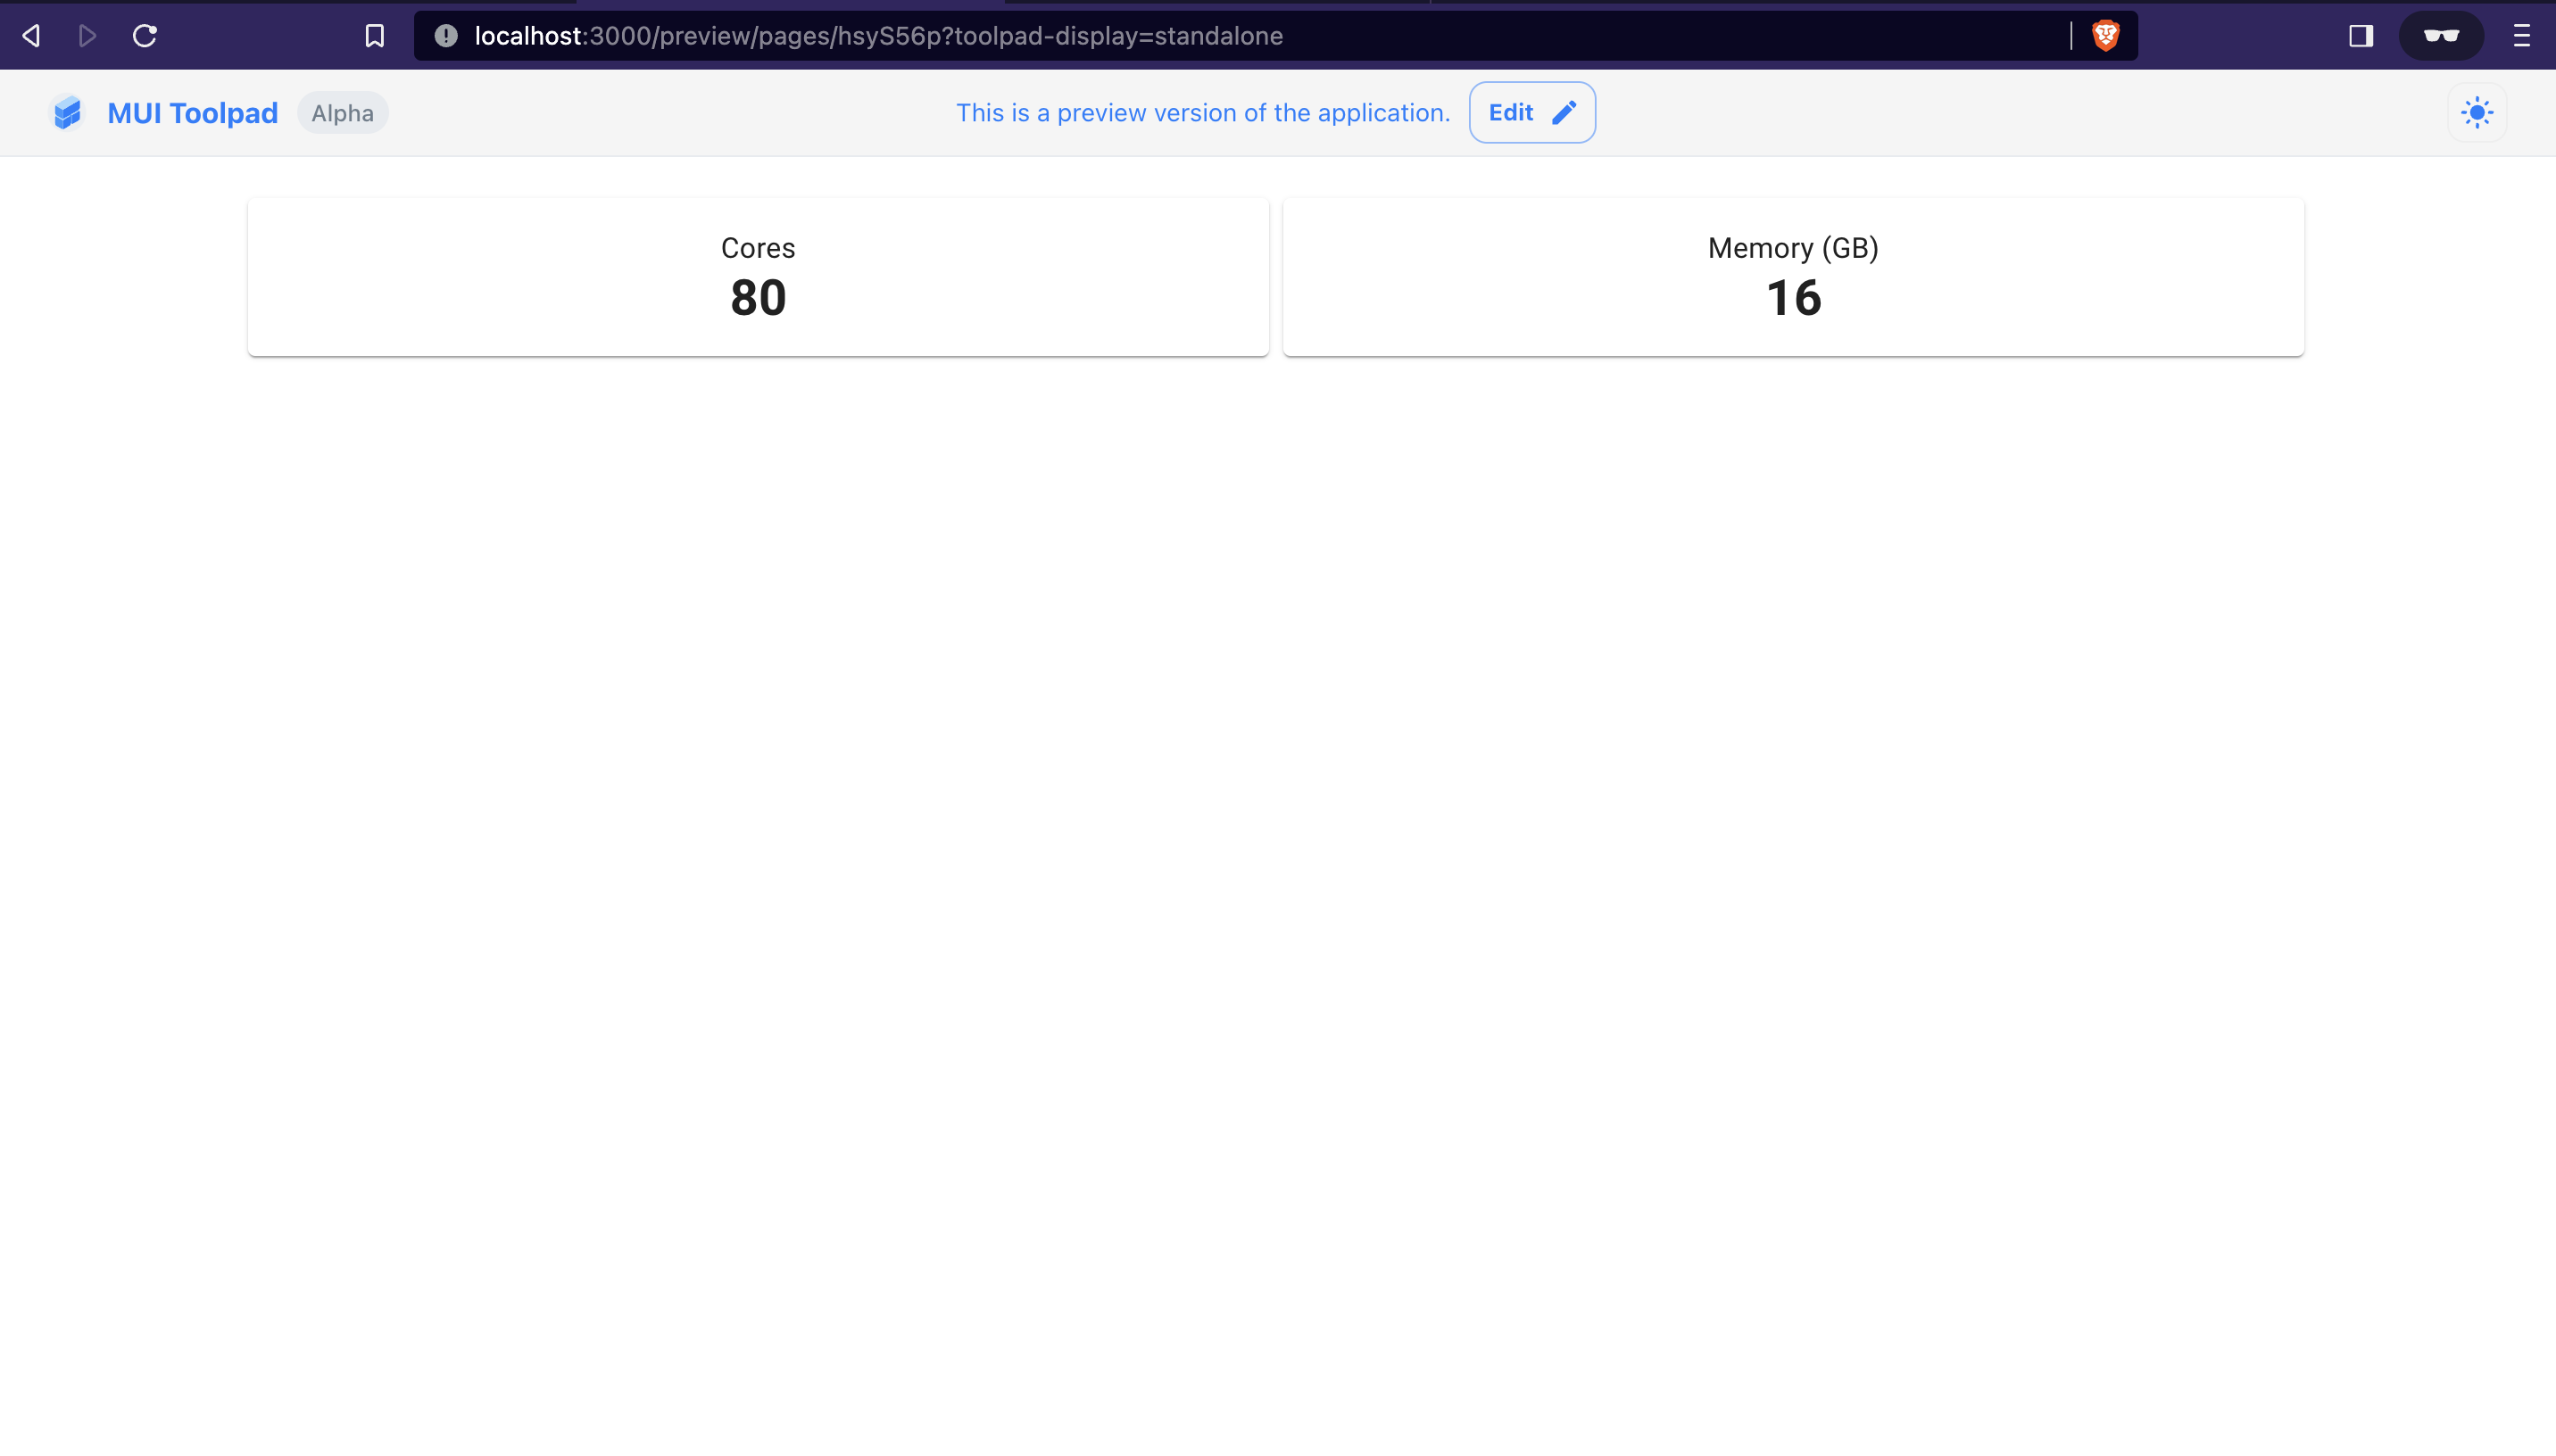
You can override this setting for any page using the toolpad-display query parameter with the page URL:
?toolpad-display=shell- Same as App shell mode.?toolpad-display=standalone- Same as No shell mode.

Overriding the display mode
Max width
Toolpad pages use a Material UI Container as their top-level element. You can control the maximum width of this container in the page properties.

Setting the maximum width of the page container
Available values are xs, sm, md, lg, xl, or None to conform to the available width in the window.
Page parameters
Page parameters allow you to pass external data into the Toolpad Studio page state via the URL query parameters.
Setting parameters
You can set page parameters from the Page tab in the Inspector panel on the right. You can add multiple parameters along with a default value for each.
Using parameters
The parameters that you've added are available in the global scope for data bindings under the page.parameters variable.
The value that the parameter assumes at runtime is the value that is passed through a URL query parameter.
For example: if you define a page parameter foo and access the page with ?foo=123, then the value of page.parameters.foo in the bindings will be "123".
Page alias
Pages are routed by their name. For example the page named employees will be accessible under the url /pages/employees.
In order to allow maintaining backwards compatibility when a page is renamed, one can define an alias for the page.
This can be done in its page.yml file.
Add a alias property to the file with an array of strings that you would like to use as aliases for the page. e.g.
# /pages/employees/page.yml
apiVersion: v1
kind: page
spec:
  alias:
    - workers
    - colleagues
Now the urls /pages/workers and /pages/colleagues will both redirect to the url /pages/employees.